Front Axle Installation
The XJ’s front axle design is a coil-sprung straight axle located by four control arms and a track bar (aka Panhard rod). To lift this type of axle, coil spacers and/or longer replacement coils are installed. Depending on the specific lift kit, the lower and/or upper control arms are replaced by longer ones, and the track bar is replaced by an adjustable unit or simply relocated. Installing a lift on the XJ’s front axle is straight forward, but very time-consuming. Besides standard tools, a lift jack, and jack stands, the only “special tool” you may need are spring compressors.
The instructions that come with the Skyjacker kit are easy to follow and feature a lot of instructive photos. Therefore, what you will find below are mainly additional tips and tricks for each step of the installation process. The numbers indicate the corresponding step in the Skyjacker instructions. Even if you have a different lift kit than the 3″ Skyjacker System, however, you may still find some useful tidbits.
Before heading for your garage or shop, you should thoroughly read through the original instructions and the following tips. This way, you can familiarize yourself with the installation process and make sure that you do not miss any important details.
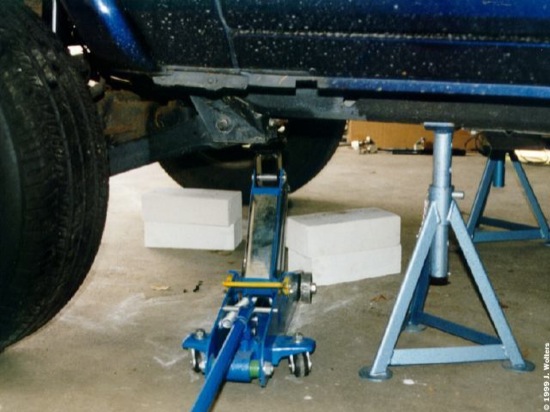
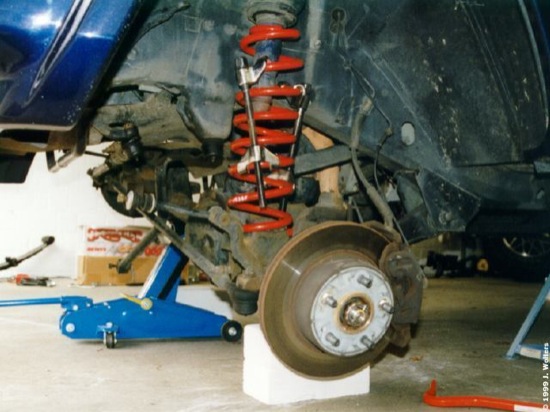
2. To make the installation of the replacement springs as easy as possible, you will want to jack up your truck as high as possible for that bit of extra workspace below the axle. If you only have a small lift jack, place it under the frame’s gear box/transfer case cross member or under the rear lower control arm brackets (see photo).
When jacking up the vehicle, note how flexible the XJ’s frame is by design: when the truck sits on the jack stands, open the front doors, and you will see that the frame is bent so much that the door locks are visibly misaligned.
3. Contrary to Skyjacker’s instructions, you do not have to remove the drag link assembly to install the coil springs. On my ‘97 XJ, the lower control arms would hit the rear lip of the axle-side control arm mounting bracket, limiting further downward travel of the axle even with the drag link removed.
The original instructions state that you have to remove the “spring bolt and clip on bottom of left front coil.” This is misleading, since not all XJs feature spring bolts. It does have spring retainer clips, though, but these are found on both the passenger’s and the driver’s side coils. If your XJ is equipped with ABS, remove the clip that holds the ABS wires at the lower shock mount to gain access to the spring retainer clip bolt.
Before lowering the axle to remove the springs, unbolt the brake line/ABS wire bracket from the wheel well liner.
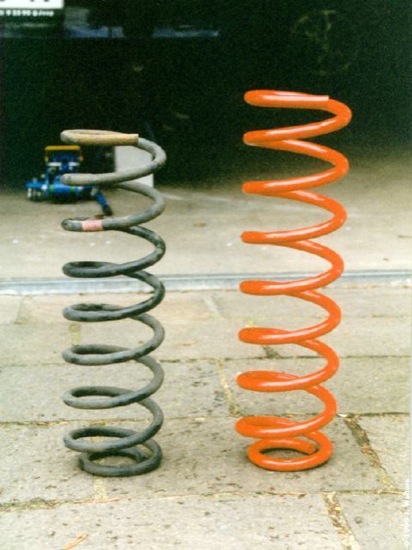
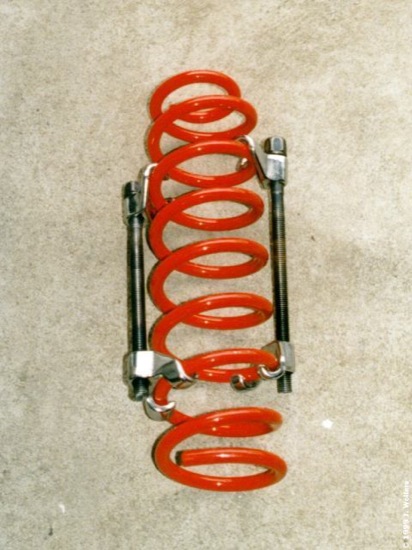
4. Even though you may be able to remove the stock springs without too much prying (and swearing…), I found it to be impossible to install the Skyjacker replacement springs without spring compressors. Spring compressors are the grown-up equivalent to vise grips: a sturdy threaded bolt connects two clamps, which are placed on the coil spring. Turning the bolt compresses the spring.
WARNING
Compressed springs — coils as well as leafs — hold tremendous
energy. If, for any reason, the spring compressors fail, you are in for
a surprise that’s literally “bone-shattering.” Therefore, be very
careful when handling the compressed springs and do not point the
coils towards your body, but hold them “tangential” to yourself!
Place the compressors on the spring as shown in the photo so that they will clear the wheel well and lower spring pad for easier installation. I compressed the Skyjacker coils to about 1″..1.5″ shorter than the stock coils. Lifting the opposite axle end by placing a small bottle jack directly under the axle bolt provided ample room for easily moving the coils into their new home.
6. Most off-roaders are very skeptical about track bar relocation brackets, and for good reasons, too. About 100 miles after I had installed the Skyjacker suspension system, I noticed a pretty nasty clunk from the front axle when turning into corners. As it turned out (no pun intended…), the track bar relocation bracket would shift from left to right although the bolts were torqued down properly. This, in turn, caused the whole front axle to slightly shift left-and-right below the truck. The resulting offset when driving straight down the road corresponded to about 1/8 turn of the steering wheel!
For much better steering response, discard the bracket that comes with the Skyjacker kit (or any other kit, for that matter) and simply drill a new hole in the stock bracket on the front axle. Check the instructions under Re-aligning the Front Axle on the Tweaks page for details.
8. On older model XJs, the front axle’s caster angle is set with the help of adjustment cams, as shown in the Skyjacker installation instructions. Newer models, however, use a different approach: the bolt hole in the rear mounting bracket of the lower control arms is oval in shape, and the bolt is held in place by a U-shaped bracket inside the control arm mounting bracket. Look at the bracket from below to see how this works. If your XJ came with this “cam-free” design, you do not have to mark the bolts’ position before removing the control arm.
10. Since the rear control arm bolt is actually screwed into the inner “adjustment bracket,” you cannot simply pull it out, but have to unscrew it all the way! The front bolt, however, can be driven out carefully with a punch or big screwdriver.
Torque the lower control arm bolts to 115Nm (85 ft-lbs). The torque for the front shocks is 11Nm (8 ft-lbs) for the upper nut and 23Nm (17 ft-lbs) for the lower bar pin bolts. The track bar’s bolt at the axle has to be torqued to 100Nm (74 ft-lbs).
After having finished the front coil and control arm installation, make sure you re-mount the ABS bracket at the lower shock mount and the ABS wire/brakeline bracket on the fender well. Before doing the latter, however, you may wish to read about relocating the brake lines.
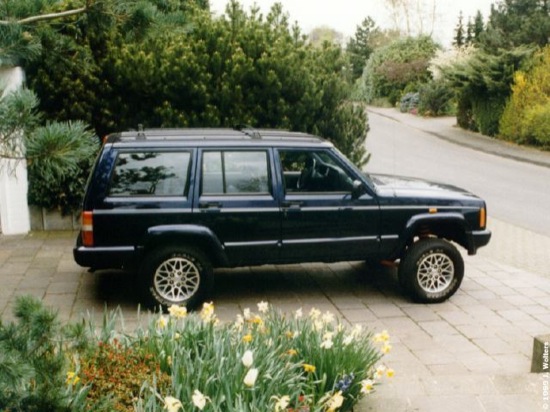
With the front axle installation completed, my XJ looked like this: