← Return to Front Axle installation
Rear Axle Installation
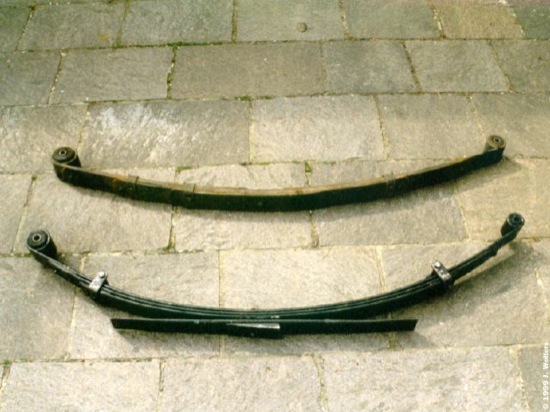
The XJ’s rear axle design is much simpler than the front: a straight axle located by semi-elliptic leaf springs. Lifting this setup is as easy as adding an extra spring leaf (aka “add-a-leaf”) or a lift block to the stock spring pack, or swapping in complete replacement spring packs. Especially on older vehicles with noticeably sagging rear springs I strongly suggest you go for replacement springs.
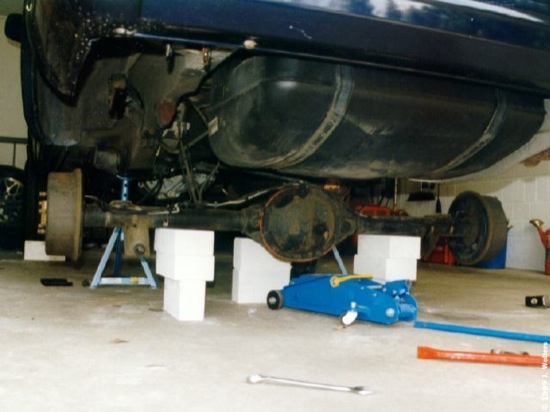
2. After removing the shocks and the U-bolts, the rear axle is held in place only by the drive shaft. To prevent the axle from moving around, place bricks under the axle and the rear cardan joint as seen in the photo.
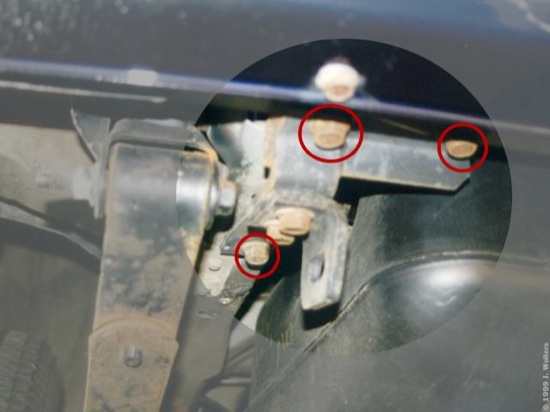
4. Removing the front spring bolts is easy, although it does take a lot of elbow grease. The rear bolts are quite a different story, since you need to remove the stock rear tow hook to be able to slide out the driver’s side spring bolt.
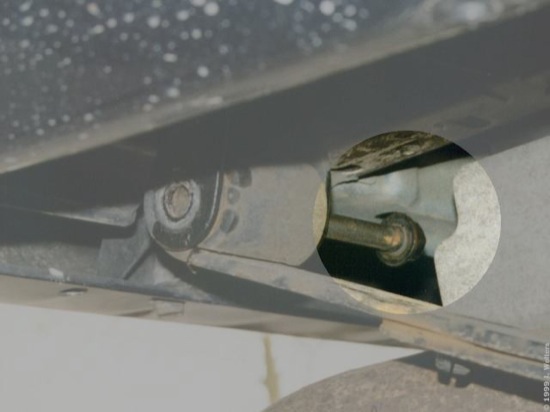
When looking towards the front of the truck, the left two bolts of the tow hook sit in threaded holes in the frame, whereas the right bolt has a corresponding nut. Don’t dispair, though; it is reasonably easy to reach. One approach is to jam an open-ended wrench between the nut (above the frame crossmember) and the rear bumper. If you gently unscrew the bolt, this will not leave a dent in the bumper, and you do not even need someone to help you.
On the passenger’s side, don’t be fooled by the heat shield between the exhaust pipe and the fuel tank: even though it seems as if the bolt will not clear the shield, it does exactly that. After removing the front spring bolt and lifting the center spring bolt from the hole in the axle’s spring perch, push the leaf pack as far towards the rear of the vehicle as possible, i.e. until the shackle hits the shackle bracket. The spring bolt now cleanly slides out of its hole just behind the heat shield.
Now it is time to brace yourself for a bit of serious muscle pumping: the new spring packs are arched much more than the original springs so that the spring eyes are closer to each other than the closest distance between front spring bolt and shackle. It is, however, possible to still install the springs without further help, and here’s how.
Update
There is a potentially easier
method for installing the rear springs than the one I originally used. I
suggest you read both descriptions and then decide which approach you
want to follow. So, here’s the alternative approach first:
A — Install the front spring bolt first. Then, place a block of wood between the spring and the frame near the spring shackle. Now lift the springs with a small car jack or a bottle jack. Align the holes in the shackle with the one in the spring by varying the jack’s lift height and the position of the wood block. This may indeed be easier than the method described below.
B — Install the rear bolt first. Then, jam a prybar into the shackle so that you can move the whole spring pack towards the front of the truck by pulling on the prybar. Next, put a small bottle jack below the springs in front of the axle, i.e. a few inches in front of the degree shim. Pull the prybar, “lock it in place” with the top of your foot – don’t worry, just keep on reading… — and pump up the bottle jack to push the front spring eye into the mounting bracket until it starts touching the frame. Finally, while still “locking” the springs in the front-most position with your foot/prybar, pull down the front spring with another prybar (a socket wrench extension will also work) so that the spring eye hole is in line with the bolt hole in the bracket. It may take some trial-and-error to find the correct setting between bottle jack and front prybar, but I guarantee you that this is indeed a possible approach to install the rear springs entirely on your own! (Unfortunately, I do not have a picture to prove this, because that would have required having a third hand.)
One more piece of advice: pulling down the front spring eye may lead to torsion in the spring leaf, so make sure that the spring eye hole is indeed level. Otherwise the spring bolt’s thread will not catch into the frame hole thread.
Once the spring is in place, torque the front bolt to 156Nm (115 ft-lbs) and the rear bolt to 108Nm (80 ft-lbs).
5. When installing the spring plates, it may seem as though the slotted holes slightly overlap with the spring plate, so you won’t be able to insert the U-bolts from below. If this is the case, put the inner U-bolt in place on the axle tube, slide the spring plate over it, hold the outer U-bolt upside-down, slide it into the spring plate from above, and gently pry the spring plate outwards over the center bolt. Once the spring plate is in place, the outer U-bolt should now sufficiently clear the spring pack to slide into the holes. Torque the U-bolt nuts to 70Nm (52 ft-lbs).
Install the shocks and torque them down to 62Nm (46 ft-lbs) at the lower mount nut and 23Nm (17 ft-lbs) for the upper bar bin bolts.
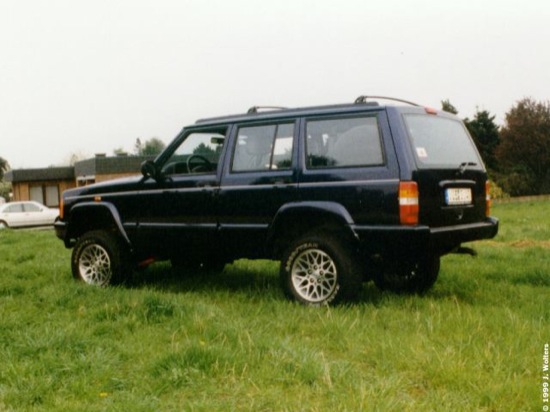
Here’s the finished product, still rolling on stock tires.